Notes / Design
How to build amazing UI in your projects - Shadcn + Bonus
AI can make building UI components easier, but a lack of discipline quickly leads to chaos. See how the Shadcn library solves this problem by letting AI generate consistent and good-looking interfaces that you can instantly adapt to your needs.
· 3 min read
Introduction
When building a new project, we have a few options for how to approach the User Interface (UI).
The first option is to let AI build the components on its own, but if we don't stay disciplined, elements can quickly start to differ between pages (unless it's intentional, it's better to make sure they look the same so as not to confuse the user).
We can also create and style components ourselves, which is of course good but time-consuming aaand … that's not what this blog is about.
However, to make life much easier, we can use ready-made component libraries. Most of them usually look very good and all we need to do is pick the right ones for our project. The downside of this approach is that we lose some uniqueness. We won't be the only ones using such libraries.

In this post I'll focus on the Shadcn library because:
- It's understood perfectly by AI, which makes the work much easier
- It has a ready-made MCP, which further improves integration with AI
- This MCP can easily be extended with more component registries such as Aceternity UI or Animate UI - you'll find the full list here https://ui.shadcn.com/r/registries.json
- There's a very interesting add-on made for it, which I'll show at the end of the post…
Installing Shadcn MCP
We'll start by preparing a base project with Shadcn that we can work on. The easiest way to do this is to use this command in the terminal.
npx shadcn@latest initTo run it, you need to have node.js installed on your computer.
After running the command, answer a few questions the system asks, and the whole foundation of the project will be created automatically. Now, to start it and check that everything works, type the following in order.
cd <your-new-project-name>

npm run dev
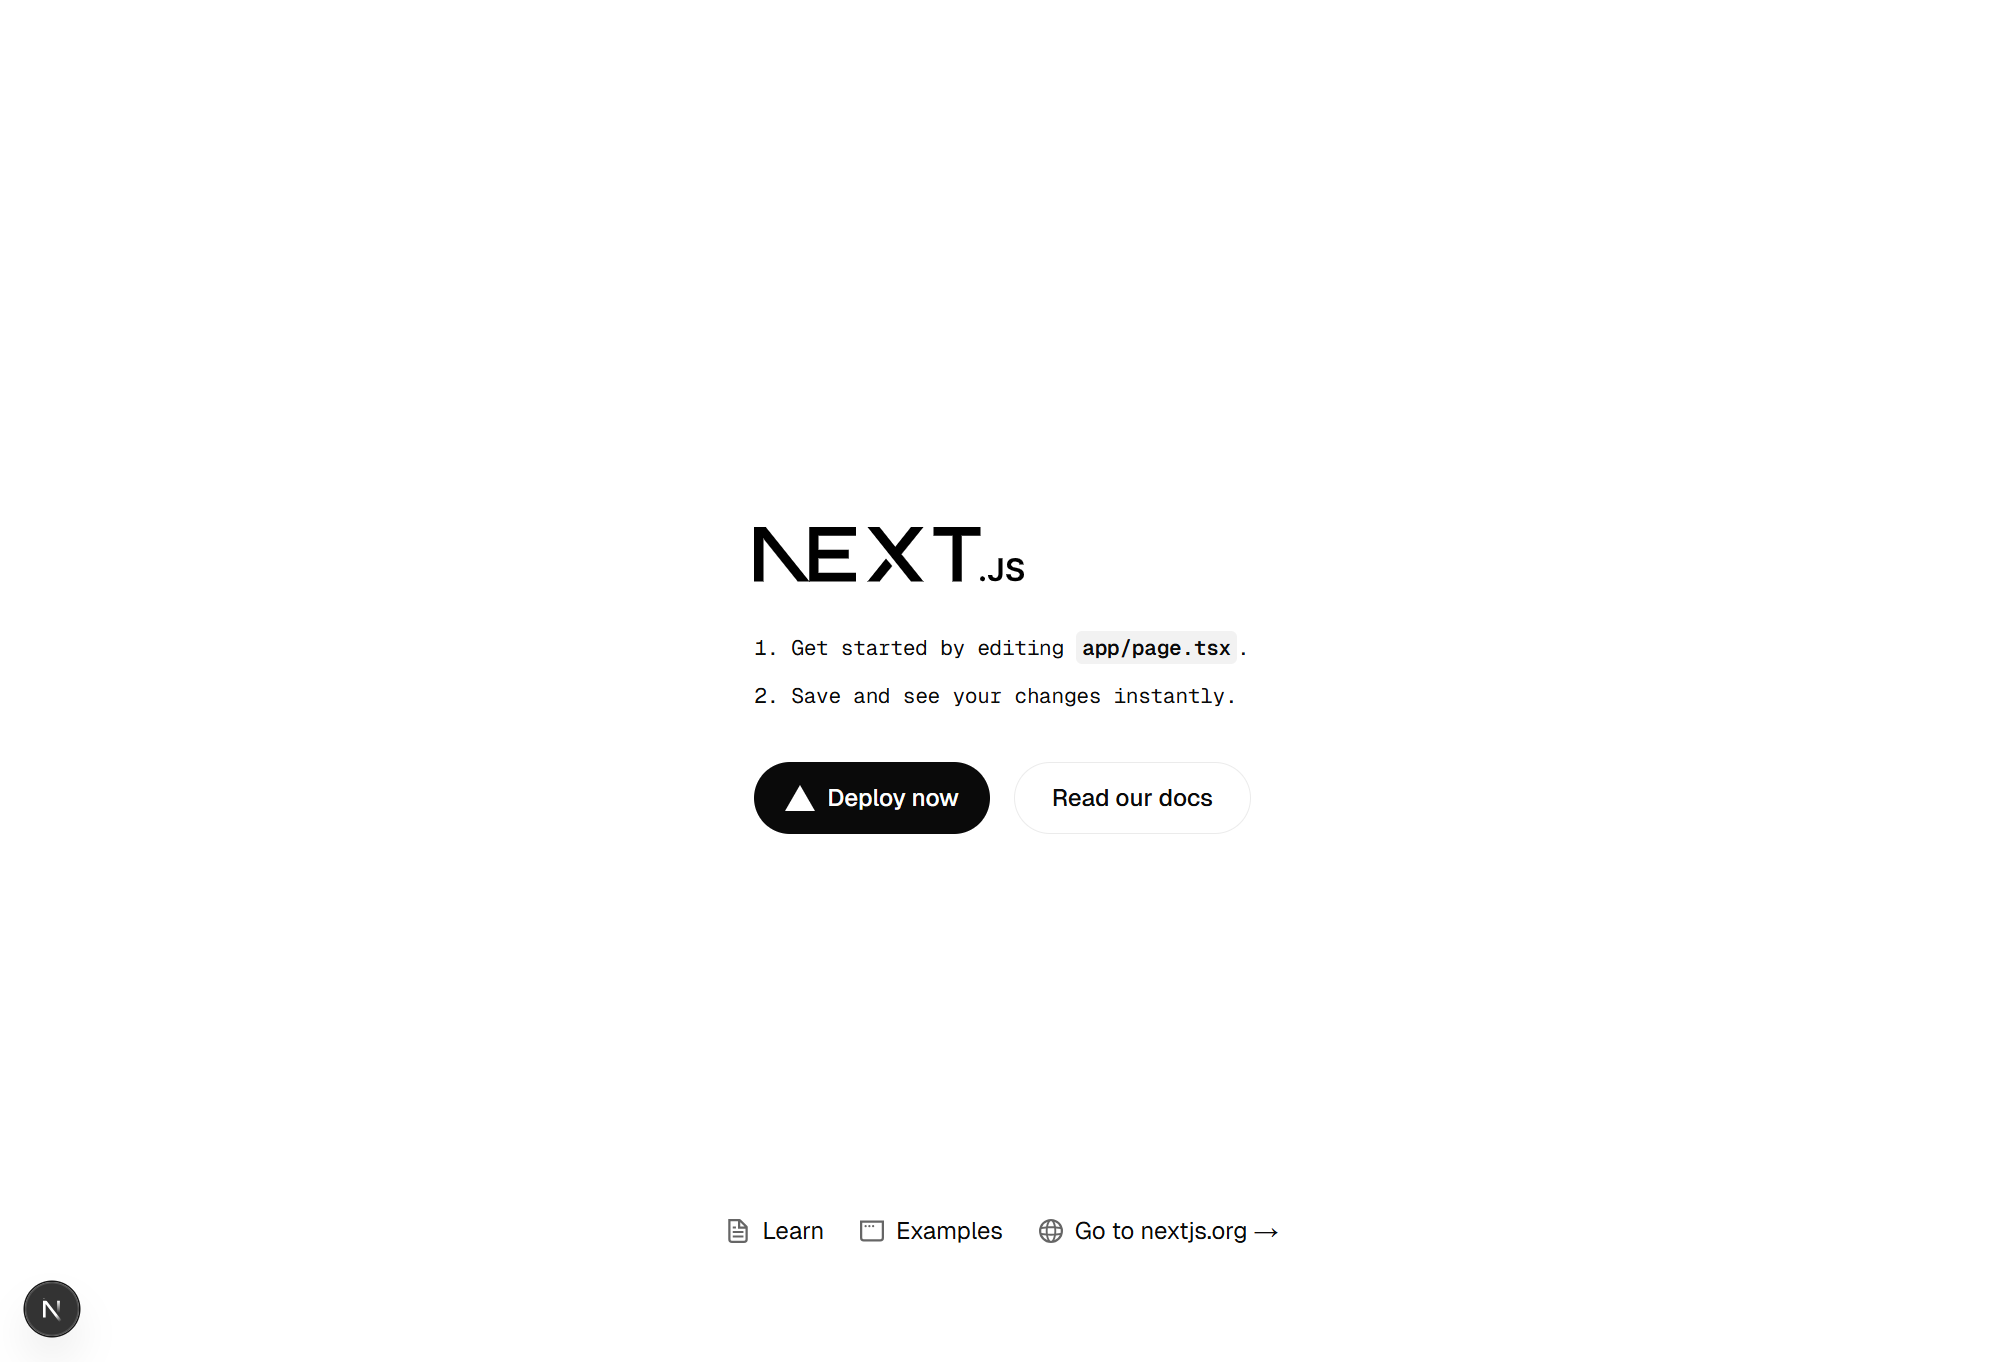
After a successful installation you should see a beautiful minimalist home page like this with a small ad
Now that we have a base, let's move on to adding the MCP. The detailed installation can be found here https://ui.shadcn.com/docs/mcp. Below, however, you'll find the installation for Cursor and Claude Code, which I use.
You add it to Cursor by going to settings → MCP and putting this JSON there
{
  "mcpServers": {
    "shadcn": {
      "command": "npx",
      "args": ["shadcn@latest", "mcp"]
    }
  }
}
If everything is correct, you should see it on the list
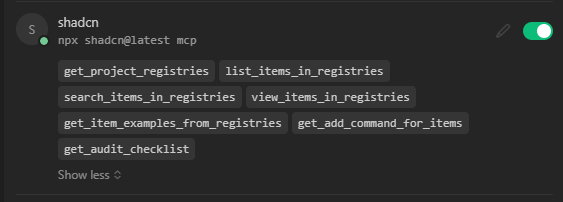
You add it to Claude Code by creating a .mcp.json file in the root directory and pasting the same JSON as above into it.
Restart Claude Code and then run the “/mcp” command. If it works, you'll see this.
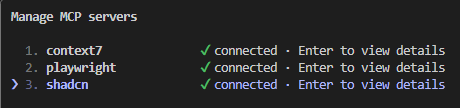
How Shadcn MCP works
To use the newly installed MCP, we need to mention Shadcn in the prompt and our model will start looking for elements that fit our design on its own. For this I'll use the instruction below and work on its result.
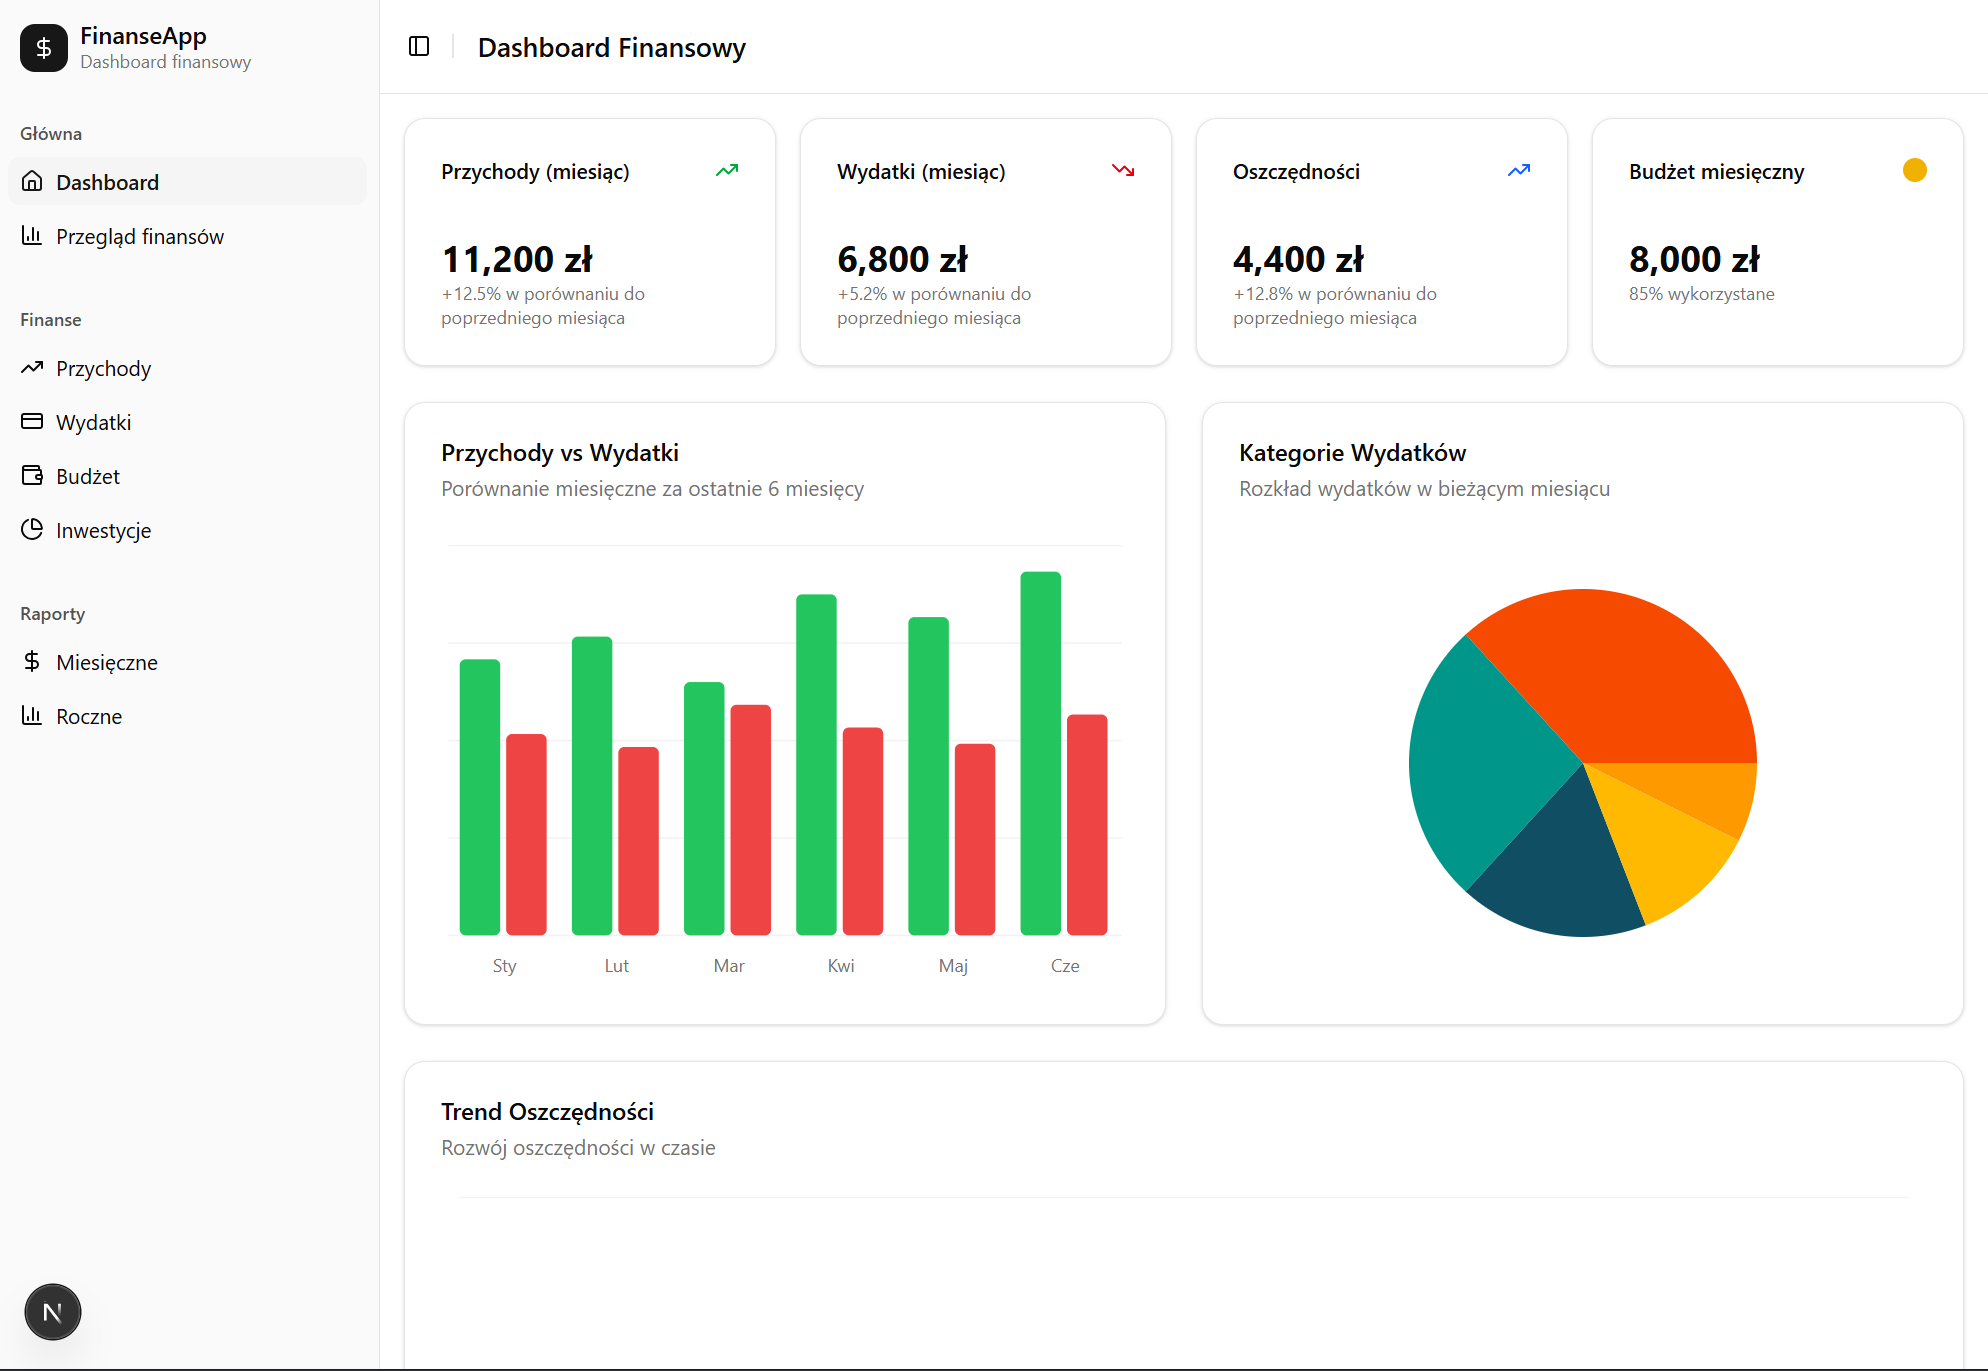
On the project's home page, prepare a finance dashboard for the user. It should have a sidebar and charts in the middle. The sidebar should be a dummy - don't add any extra pages - for now it should only be a preview version. Use Shadcn components to build it
As a result, we got a simple and minimalist finance dashboard
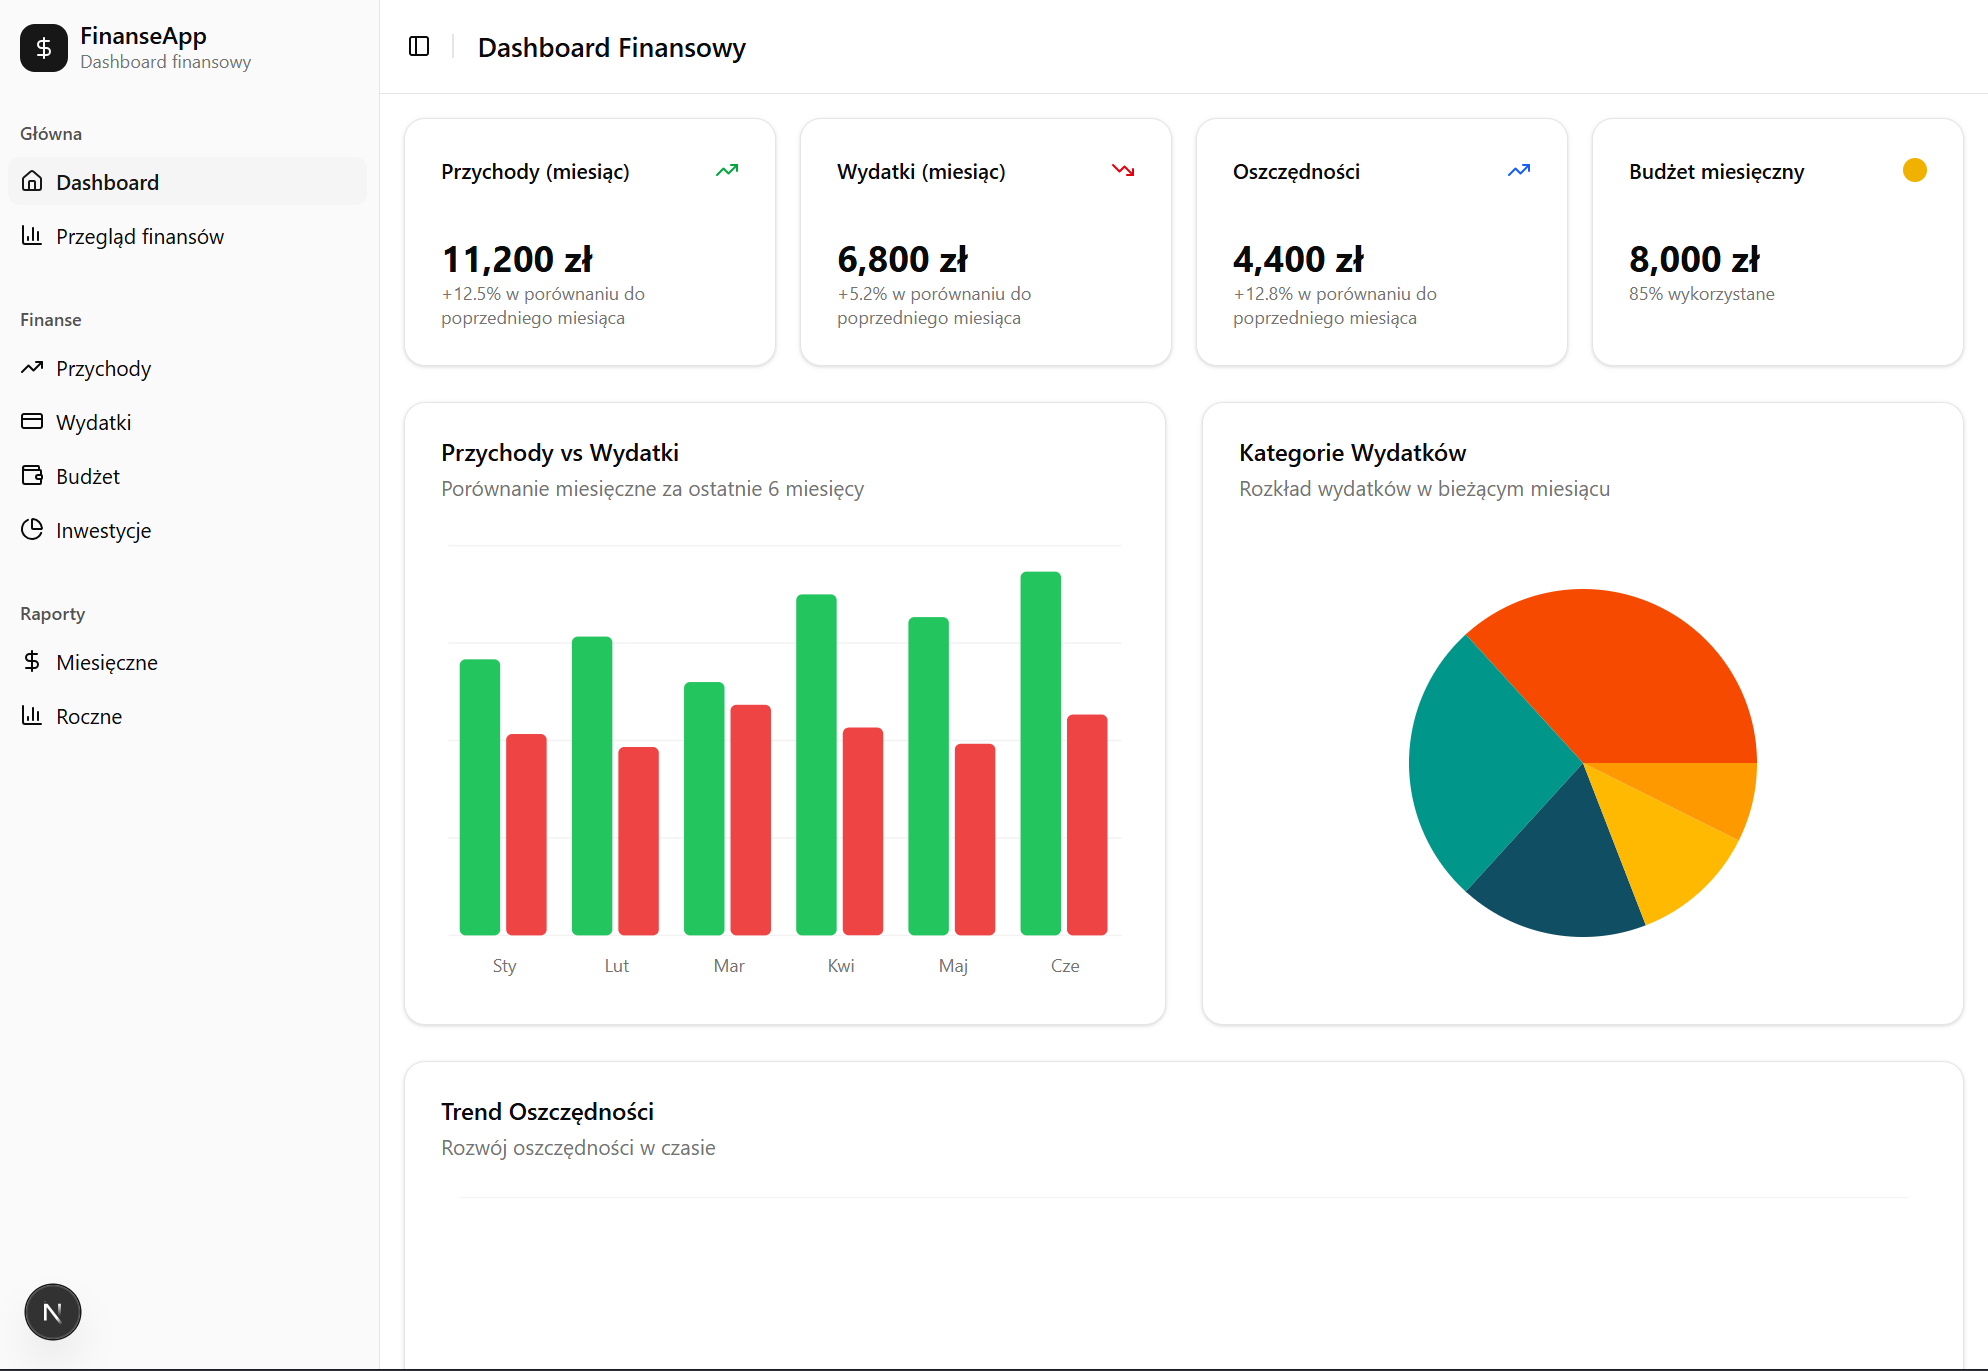
To compare what such a dashboard would look like without the MCP and shadcn, I created a new project and used exactly the same instruction but without the last sentence. The resulting dashboard looks like this
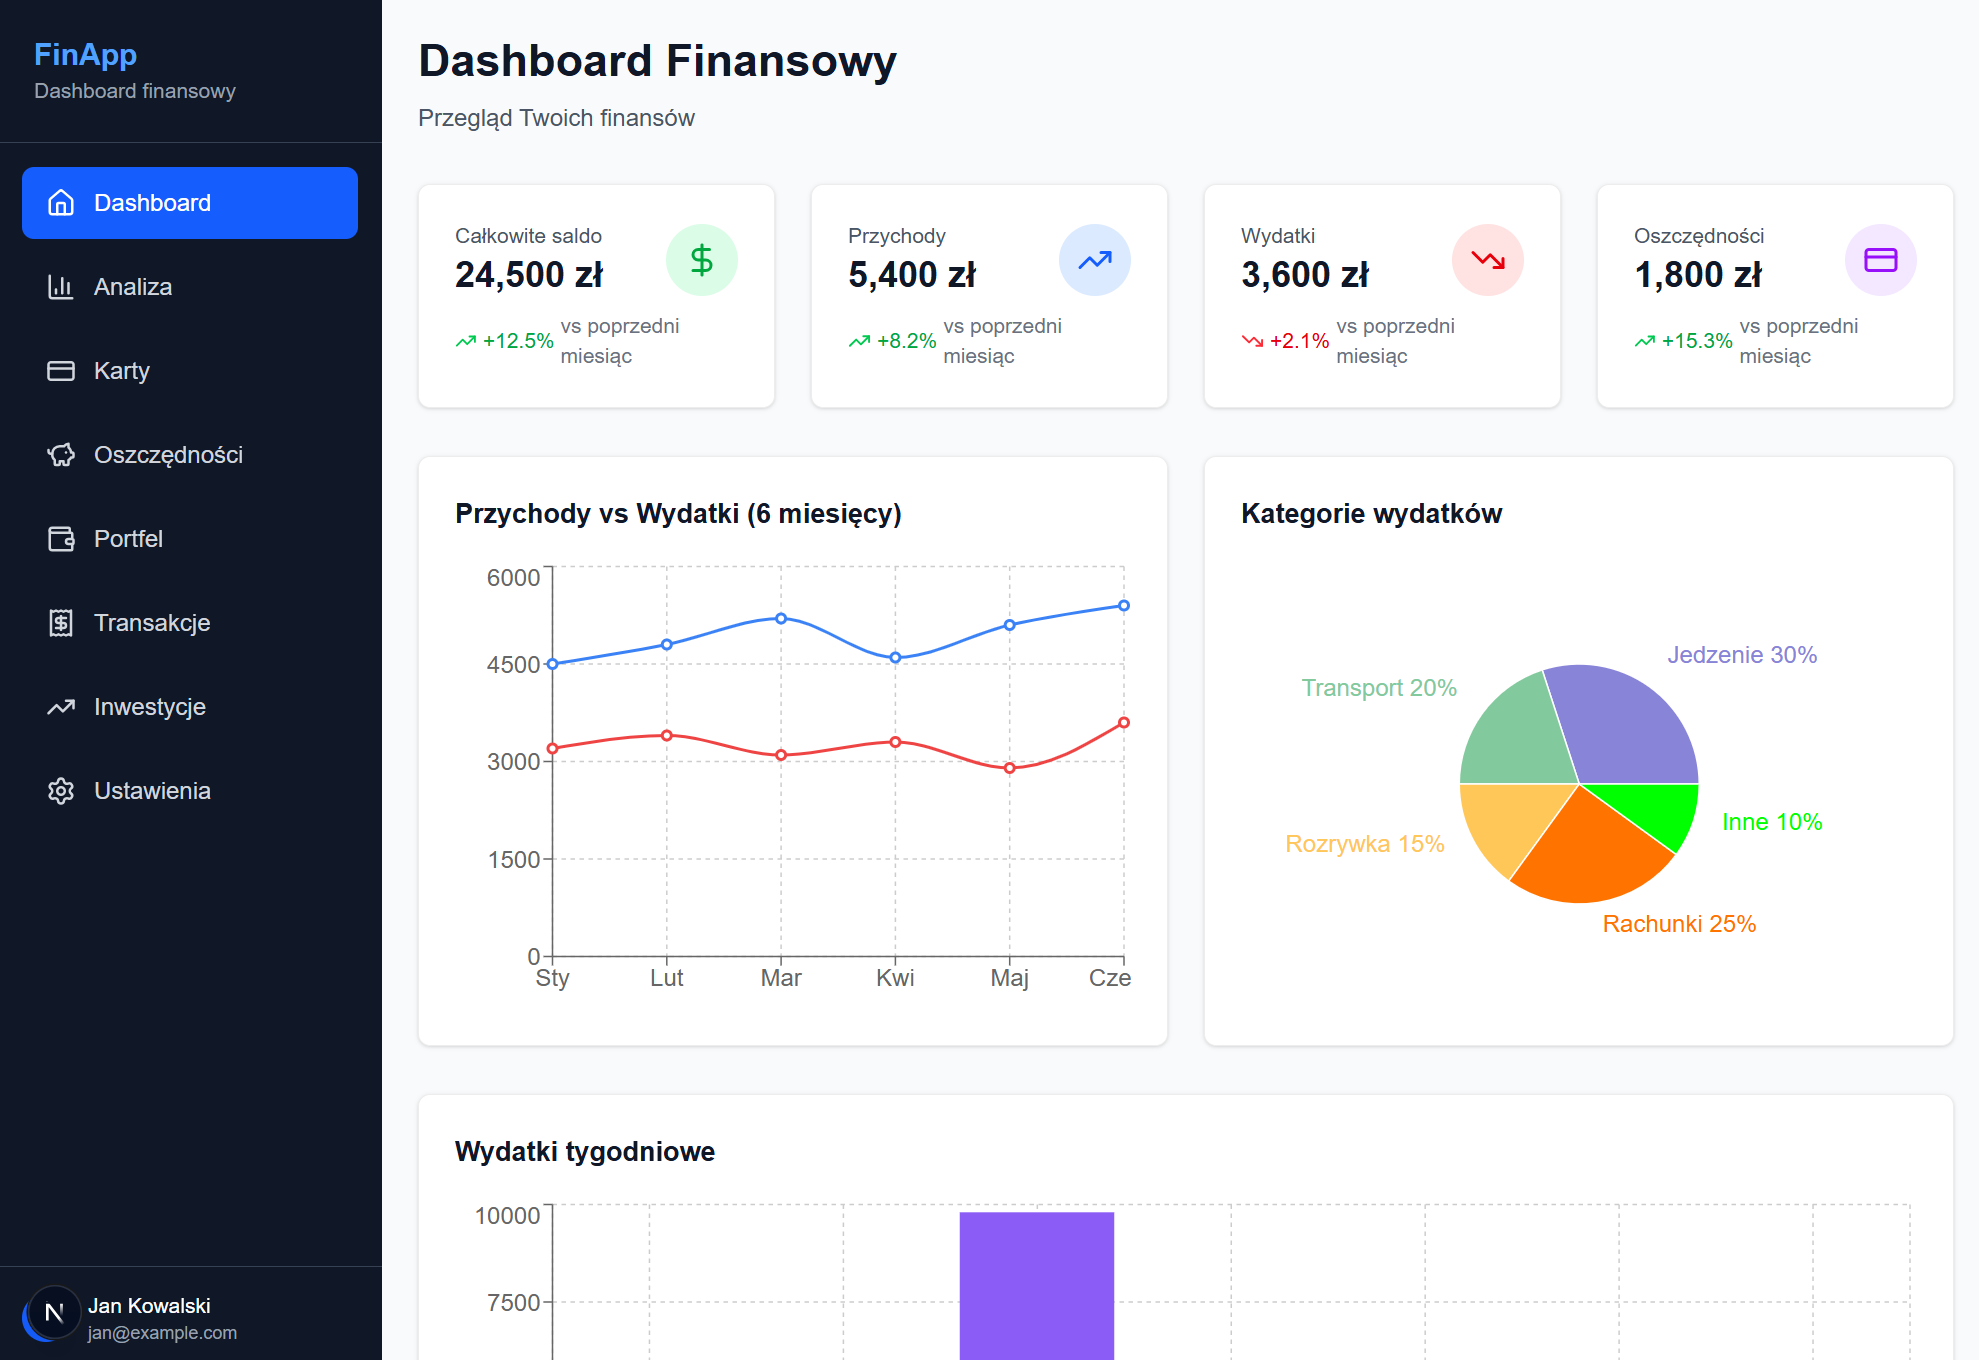
In terms of layout they are very similar, but we can see differences in the stylistic details. The Shadcn components are more minimalist and compact, so we'll be able to fit more without overwhelming the user. On top of that, it seems the text in the descriptions and on the chart is done in the same way, which also looks much better. Using Shadcn will certainly also make it much easier to create more pages in the same style.
But now it's time for an interesting bonus that makes working with this library even better.
Bonus
Tweakcn is a website that lets us very easily adjust the color scheme of our project built on Shadcn components. On this page https://tweakcn.com/editor/theme you can pick one of the prepared themes or customize one yourself. You see a preview right away, and to add it to your project you use just one line of code, which you can take straight from the website by clicking the Code button in the right corner of the screen.
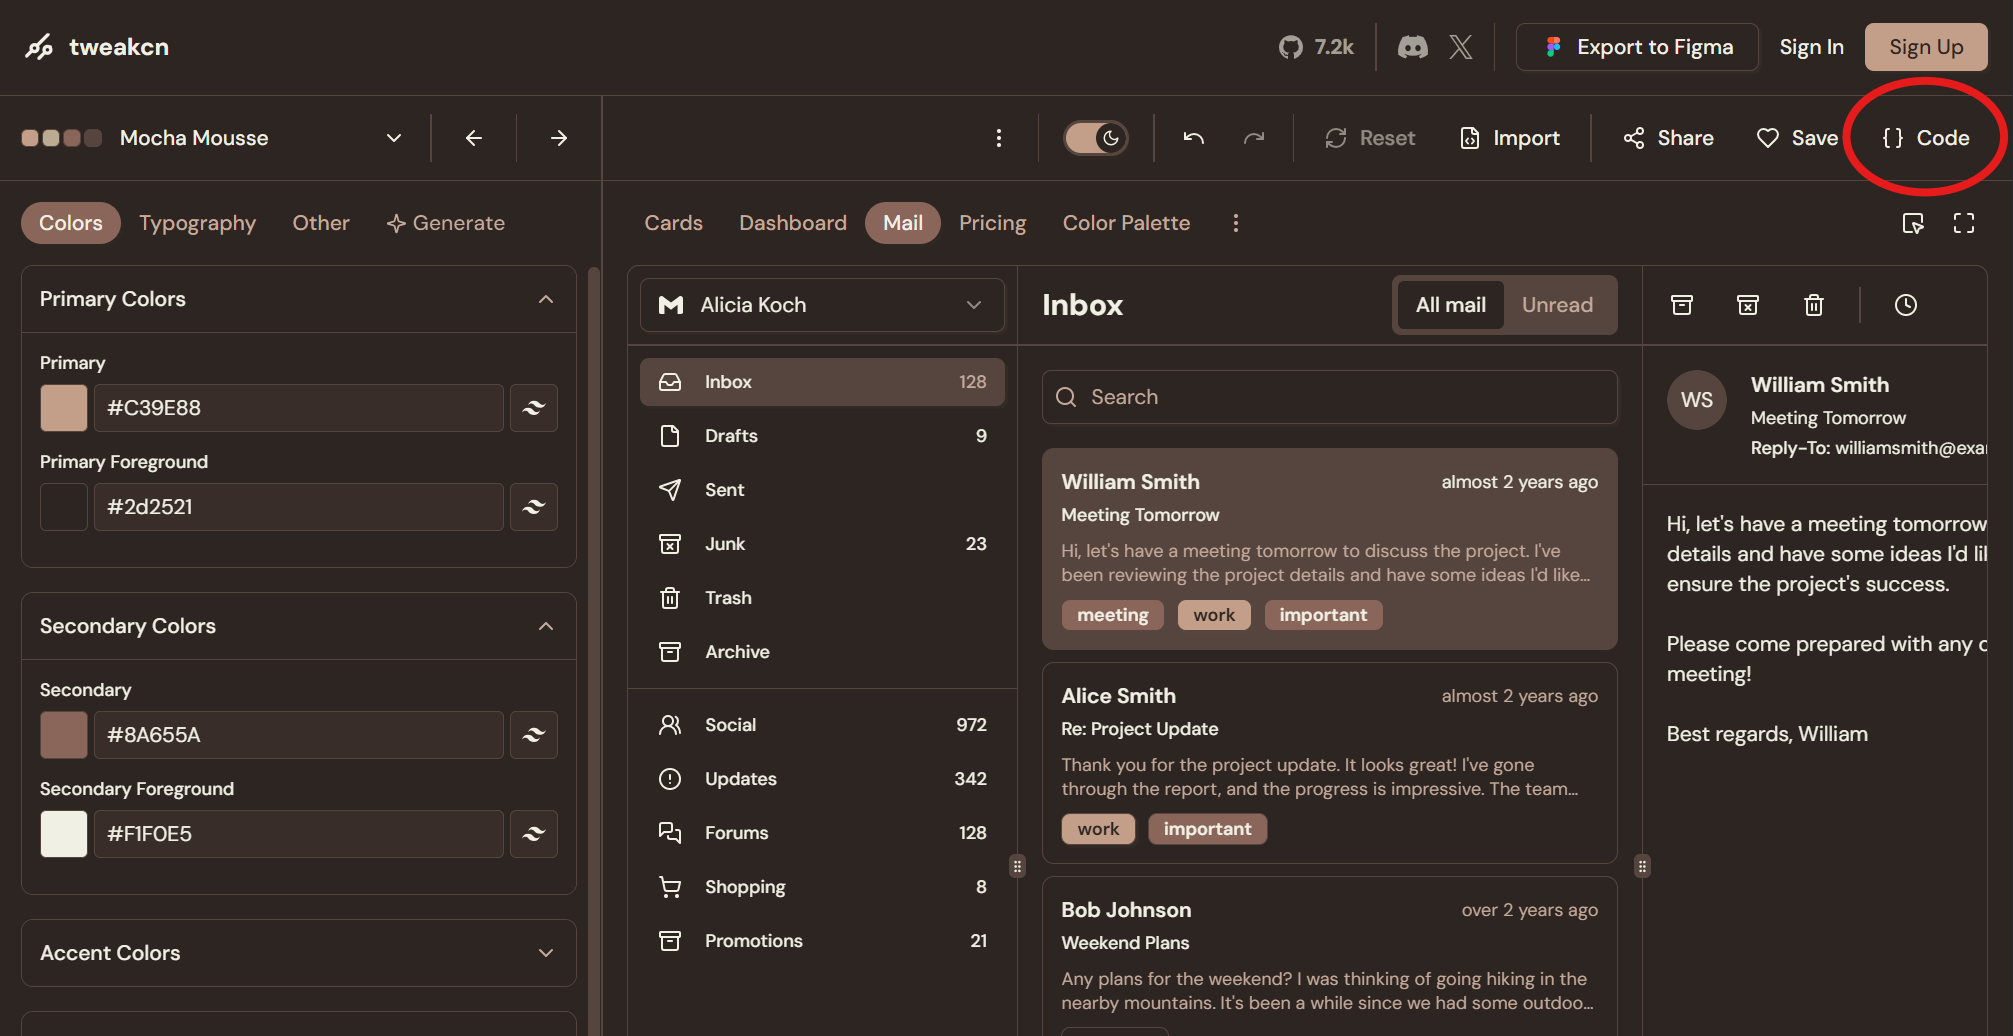
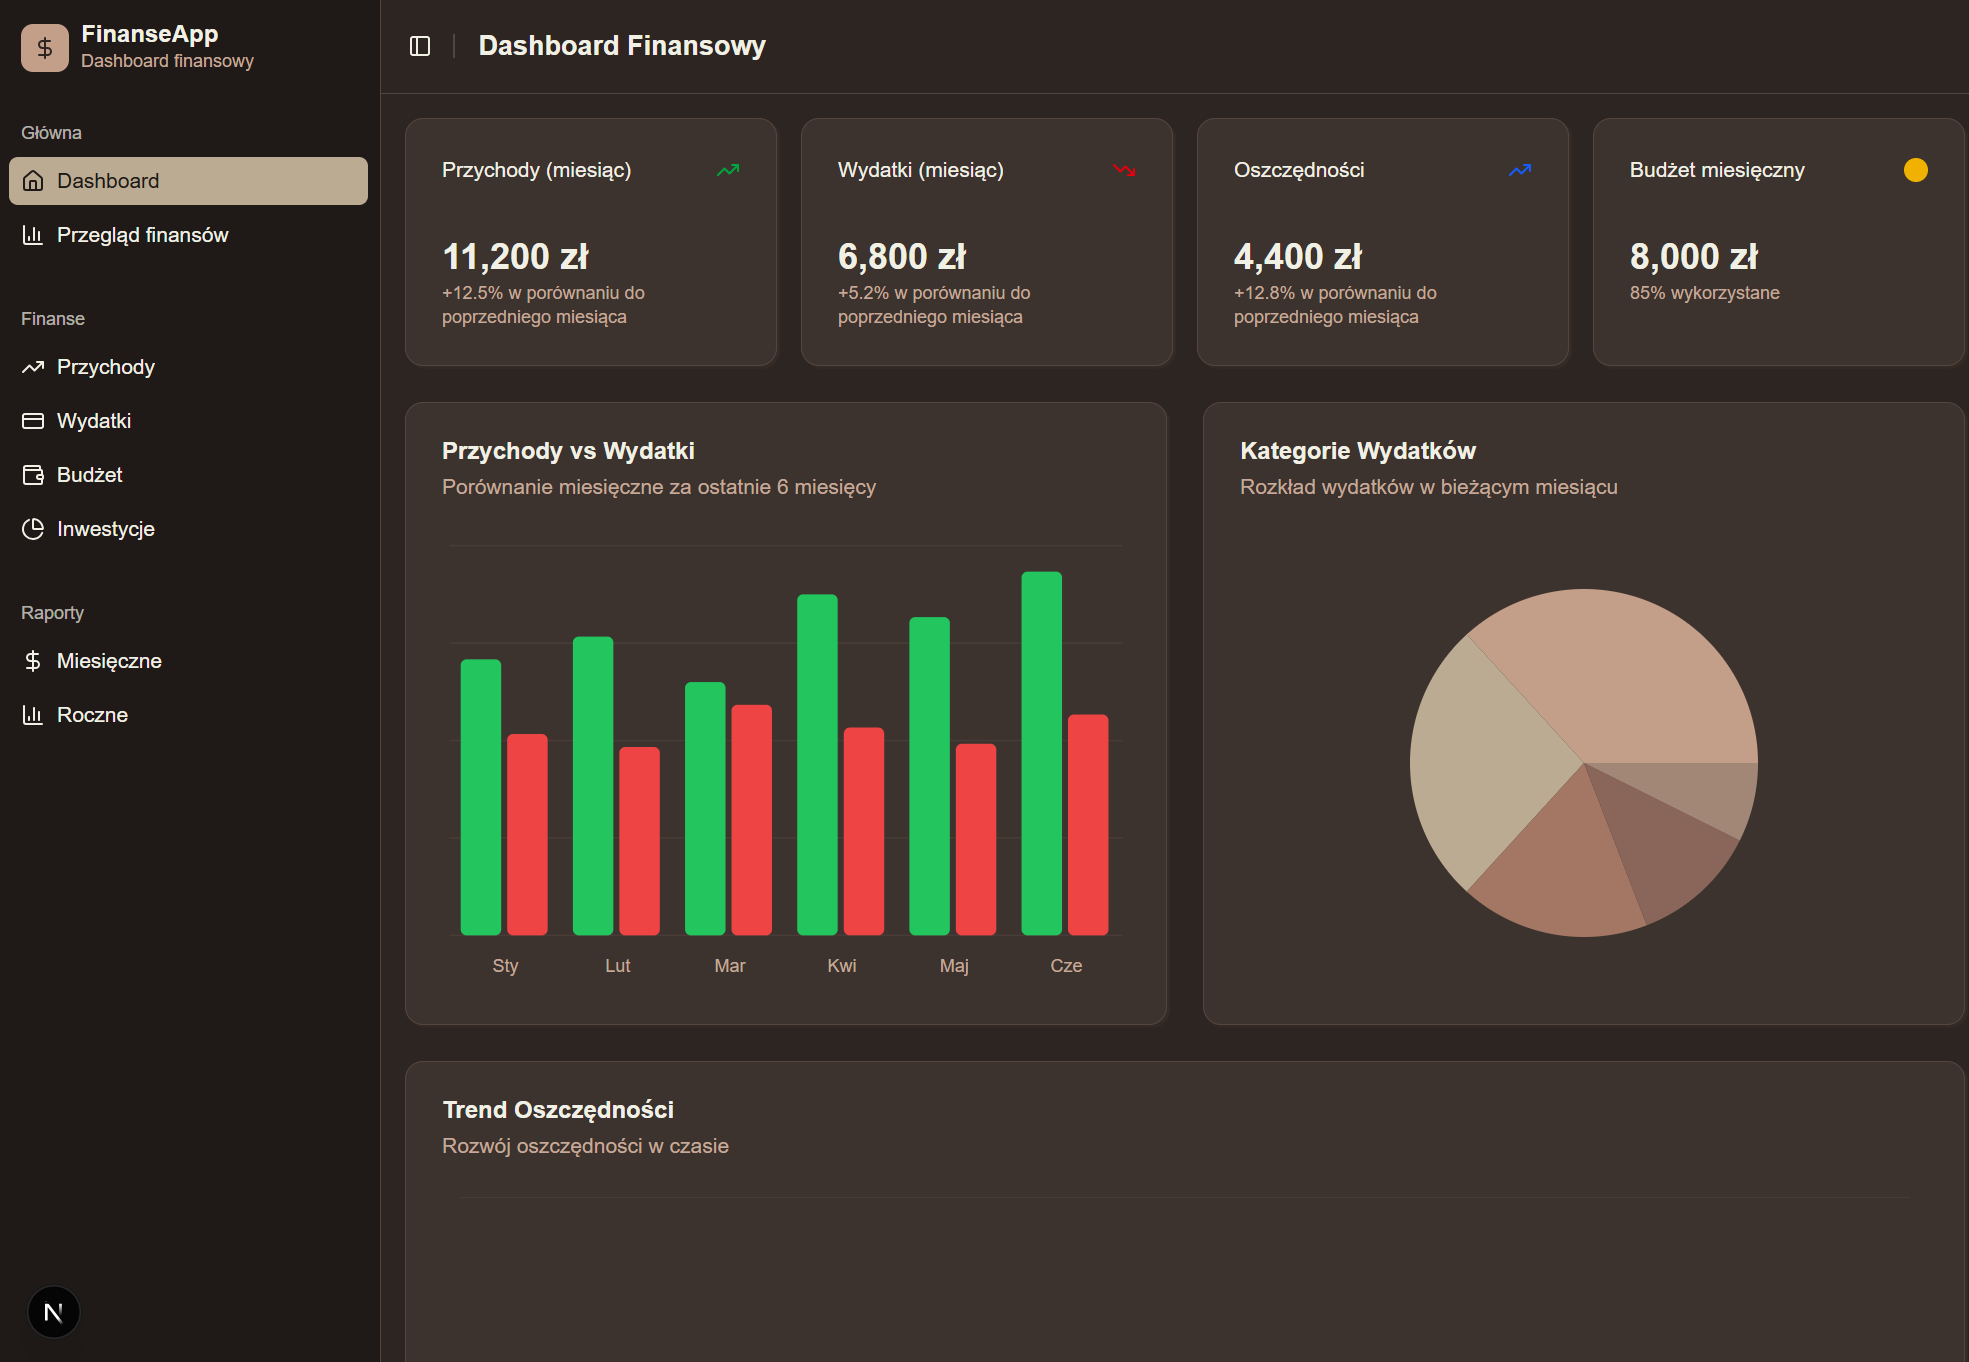
I picked the Mocha Mousse theme, and to add it on my side I type
npx shadcn@latest add https://tweakcn.com/r/themes/mocha-mousse.jsonAnd done. The dashboard now has the color scheme I picked
Thanks for reading! For now there are no newsletters or sign-ups, so I have nothing to torment you with ;). I do, however, invite you to follow me or get in touch on LinkedIn